Monday, August 8, 2011

Ollie's House

There’s just something special about cardboard boxes.  While they can be filled with trinkets and things, they are also filled to the brim with possibilities.  A rocket ship, a car, or a house...


...your imagination is your only limitation.


Since our move earlier this year, the basement has been storing several cardboard boxes in various stages of unpacking.  A few of those boxes just so happen to be the perfect size for a little boy to call his own.

So armed with a glue gun, a sharp knife, and pair of scissors I was able turn a couple of cardboard boxes into Ollie’s House.


It was a spontaneous sort of thing so I don’t have photos of the creation process.  I’ll try my best to explain, but if you’d like any further information on this project, please don’t hesitate to email me at andrea.brand.art@gmail.com


Here’s the how to...


Box it up

You’ll need 1 large box and 1 small box.  The ones that I used can be purchased at The Home Depot and cost around $3.50.  They come folded flat and need to be opened up and taped shut on one end.  The large box will become the main structure of the house, while the small box will be for extras such as window frames and the chimmney.


source


Cardboard Cutout

Cut off the flaps of the large box and set aside (these will become the roof).  Turn the box upside down.  Cut out an upside down L shape for a door.  Cut out squares for windows (the Home Depot logos on the sides work perfectly for this).  A little window can be cut into the door as well.  A pair of scissors or a sharp knife can be used for the cutting (I used a combination of both).


Raise the Roof

Glue together 2 of the flaps that were cut from the large box.  Repeat with the other 2 flaps.  You now have 2 panels which will form the main roof.


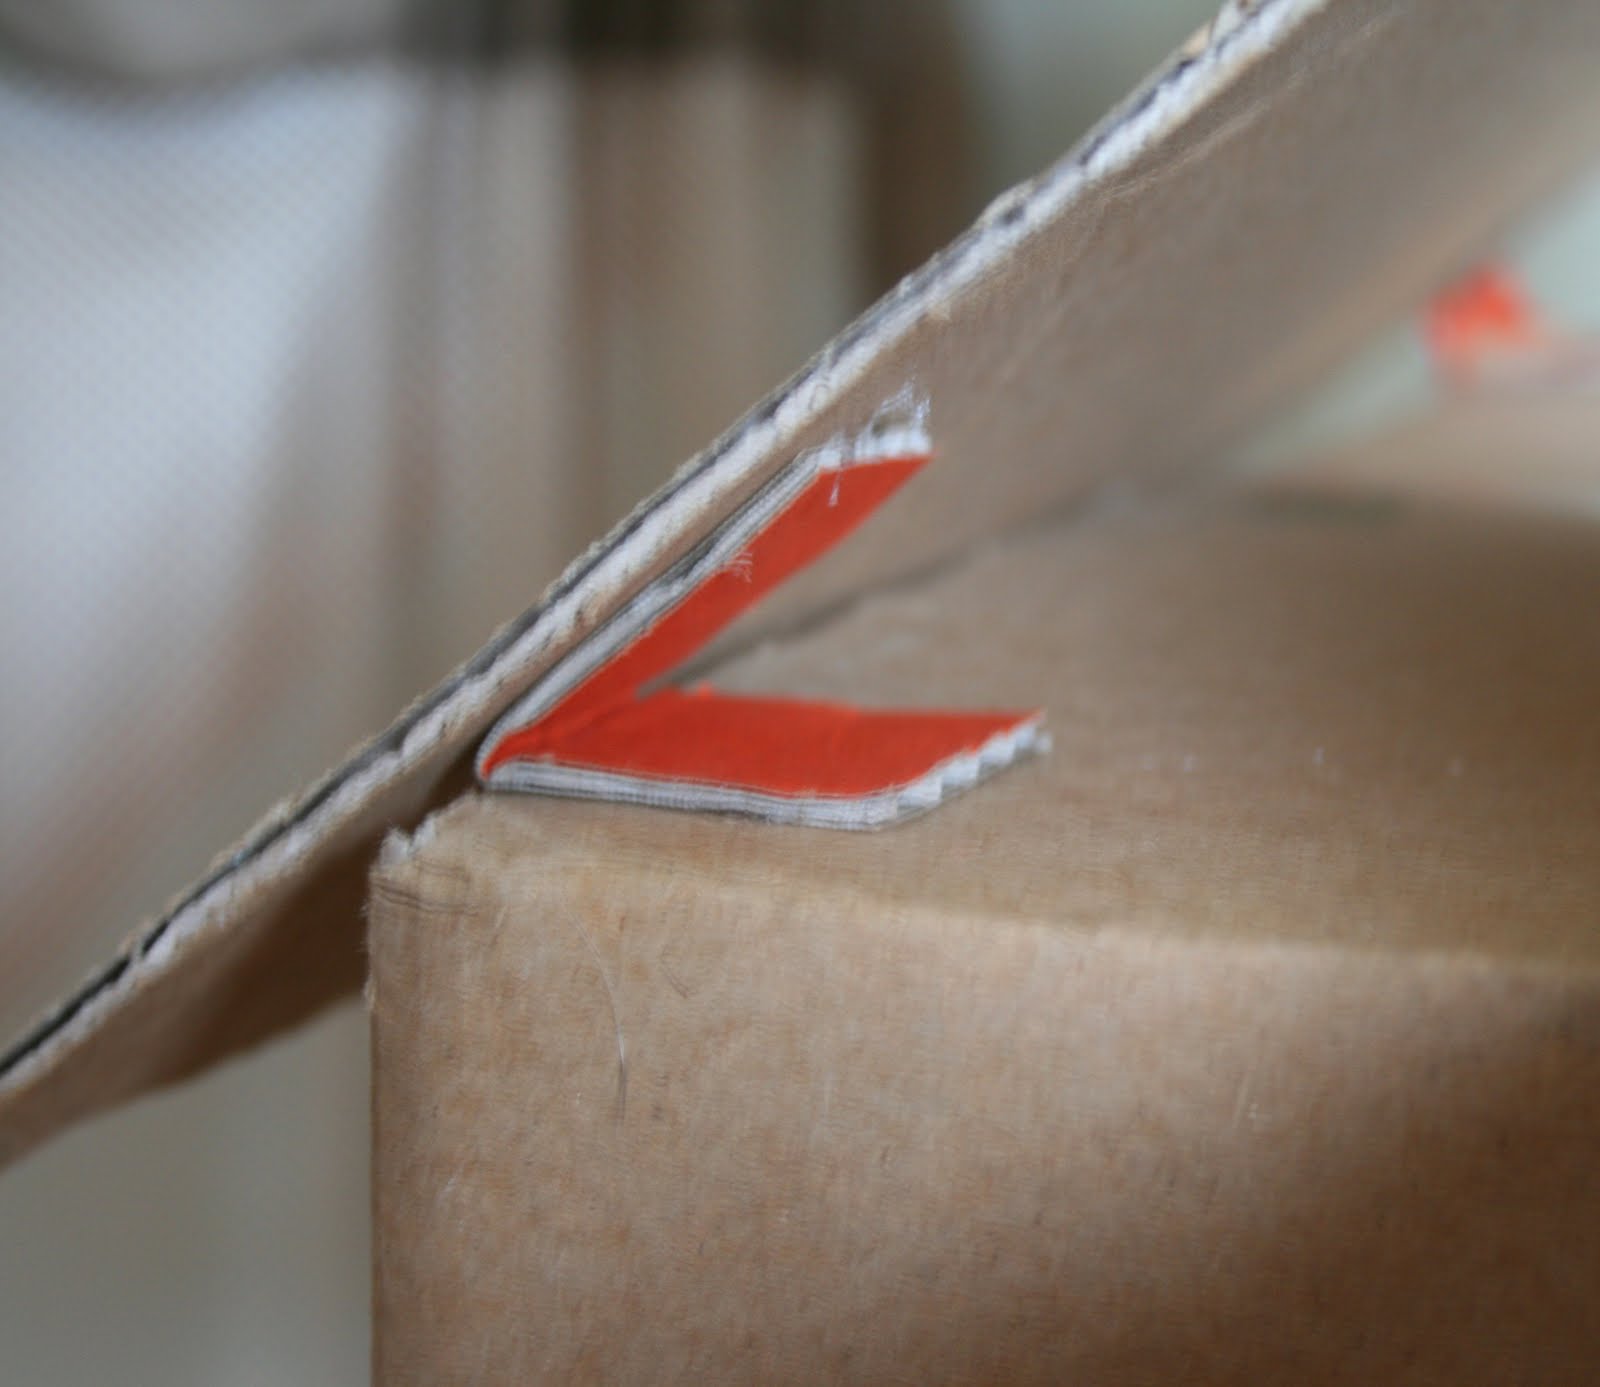
Make small strips about 2” in length out of the extra cardboard cut from the windows.  Fold strips in half.  Using the strips, glue the two main roof panels together.   These strips are also used like L brackets to attatch the roof to the house.


Cut 2 flaps off of the small box to use as the little roof over the doorway and attatch to the house using strips as described above.


Window Wonder

To make the frame around the window, take the extra piece cut from the window and place on the side of the small box.  Trace around the window cutout and from corner to corner.  Cut along these lines.  Here’s a quick little illustration...


Glue the pieces around the window.  Extra cardboard can be used to create a cross pattern within the window (in technical terms these are called “muntins”).  Repeat for the other windows.


A Charming Chim Chim Cher-ee

Use extra pieces from the small box to create a chimmney.  Glue 4 similar sized rectangular piecies together to create a little box.  Line up the end of that little box with the edge of the roof and trace along the roof line.  By doing this, you’ll be able to cut the bottom of your chimmney at the correct angle.  Leave the shortest side of the chimmney a little longer than the rest and fold to create a flap.  Use this flap to glue the chimmney to the roof.  Cut out a square slightly larger than the chimmeny and glue flat onto the top.  Cut and glue narrow strips to the edges of the square.  Top off your chimmeny with a section cut from an empty toilet paper or paper towel roll.


Knock Knock

You can’t answer the door without a doorknob!  I stole this knob from our master bedroom nightstand.  A few stacked pieces of cardboard create a lovely little detail that also adds extra depth for the knob’s screw.


The Great Debate

I’ve been debating over painting Ollie’s house or leaving it the way it is.  For some reason, I really quite like the cardboard look.  But I can imagine it painted... maybe a light blue with white trim like our house... and I think I’d like the look of that too.  So what do you think...


Does Ollie’s House need a coat of paint?


Any suggestions would be much appreciated.  Please feel free to leave a comment (I am so grateful for each and every one) and check out the poll in the side bar to cast your vote as well!


Thanks for stopping by... around here, the door is always open.


Together, lets share, inspire, & celebrate...

Wednesday A Beach Cottage . Handy Man Crafty Woman . Blue Cricket . Elements Interiors . My Girlish Whims
Thursday Delightful Order . Momnivore’s Dilemma
Friday Funky Junk Interiors . Lovely Crafty Home . Tatertots and Jello .  At the Picket Fence . Iron Violet Designs
Serenity Now . The Designer Garden . Miss Mustard Seed
Saturday Lolly Jane 


Sunday, July 17, 2011

Hello Hydrangea

For the past couple weeks, I’ve been enjoying the gorgeous Hydrangea bush in our front garden.  The delightful white blooms have provoked just as many peeks out the front door as the front porch ferns.


We can even enjoy them inside.  I think they look simply stunning in the beautiful crystal vase given to us as a wedding gift.


Now if only the Hydrangea bush in the backyard was doing as well!  Maybe next year I’ll try watering it a little bit more.


Hydrangeas are definitely on my ever growing list of favourite flowers. 


What about you...

What’s on your list of beloved blooms?


Thanks for dropping by.


Thursday, June 30, 2011

June in Review

As June comes to end, let's take a look back at all of the fun that was had this month...


We had a very special guest - Leo from McCormick Madness.


If you missed his visit, be sure to check out when the package arrived with friendship in a box.  Leo helped us fill our hearts with art when we took Charcoal & Crayons to the streets.

We showed Leo around our neighbourhood...


...and made some Honey Butter Munch.


Then we peered behind the easel with Leo before we said goodbye.


A lovely photo reminded us of how nice it is to be in Daddy's arms...


...and we took a peek at my favourite front porch ferns.  A big thank you goes out to everyone who helped me identify them as Boston Ferns!


Super Simple Seashell Stars added some summertime flair to our home decor...


...and we found colour inspiration from nature.


We had a good day with Oliver's glasses...


...and enjoyed The Ultimate Roast Chicken recipe.


What a great month and I feel so lucky that we were able to share it with you!


Thank you.


...

Wednesday, June 29, 2011

The Ultimate Roast Chicken

Not only are whole raw chickens an economical meal choice, they are a delicious dinnertime option.  Leftovers can be incorporated into many things such as sandwiches, wraps, soups, stews, salads, casseroles... and the list goes on.  The bones and carcass can be used to make a great homemade chicken stock too.  Around here, they frequently go on sale for half off, so that's when we stock up our freezer!


I have stumbled upon an incredible recipe for cooking these tasty birds.  Even though it takes 5 hours in the oven, it is so worth it!  The end result is moist scrumptious chicken every single time.
Here's the original recipe.  And here's how I do it...


The Ultimate Roast Chicken
(This recipe is for 2 whole chickens, but can easily be cut in half for 1.
I like to make an extra big batch of the rub and keep on hand for quick and easy prep.)


4 teaspoons salt
2 teaspoons paprika
1 teaspoon onion powder
1 teaspoon dried thyme
1 teaspoon white pepper
1/2 teaspoon cayenne pepper
1/2 teaspoon black pepper
1/2 teaspoon garlic powder
2 onions, quartered
2 (4 pound each) whole chickens

  1. Preheat oven to 250 degrees Fahrenheit
  2. In a small bowl, mix together salt, paprika, onion powder, thyme, white pepper, black pepper, cayenne pepper, and garlic powder.
  3. Remove and discard giblets from chicken. Rinse chicken cavity, and pat dry with paper towel.
  4. Rub each chicken inside and out with spice mixture.
  5. Place 1 onion into the cavity of each chicken.
  6. Place chickens in a roasting pan (I use a 9x13 glass baking dish) and bake uncovered for 5 hrs, to a minimum internal temperature of 180.
  7. Spoon juices from bottom of pan over the chickens.
  8. Cover with tin foil and let chickens stand for at least 10 min before carving.

The pan drippings make a very delicious gravy, which should always be served in the fanciest gravy boat...


...one that even measures how much is left!


Thanks for dropping in.


...

Tuesday, June 28, 2011

Oliver's Glasses

Several months ago, our little Ollie was prescribed glasses.


Finding a pair that would be small enough to fit him was a bit of a challenge. 


Getting him to actually wear them has been even more difficult.


Tired of the constant struggle, I put them away for awhile.


The other day, Oliver picked up the glasses case and I took that opportunity to see if he would wear them.


I was quite pleasantly surprised when they survived all the way through lunch.


Even after some playtime, they were still on.


What a good glasses day we had!


Now, today was another story...
I guess, just like most goals in life, we'll have to take it one day at a time.


Thanks for stopping by.


Saturday, June 25, 2011

The Nest

The other day, I made a discovery.

Since this is the first Summer in our new home, I was wandering around our front garden, looking at the wonderful landscaping and plant choices that the previous owners had made.  I was trying to decide what needs a good pruning, when I focused in on the little pine tree.

I took a closer look and found a beautiful nest.


On even closer inspection, I gazed upon two little blue eggs.


They were the most incredible shade of blue that I have ever seen! 


So I was inspired to make a trip to our local paint store to see if I could find a colour just as lovely.  Well, I came back with something even better...


...ALL of the colours!


I signed out one of their fan decks, so now I just have to decide on one colour... or maybe two... or three...


Thanks for stopping in.
...