Thursday, June 30, 2011

June in Review

As June comes to end, let's take a look back at all of the fun that was had this month...


We had a very special guest - Leo from McCormick Madness.


If you missed his visit, be sure to check out when the package arrived with friendship in a box.  Leo helped us fill our hearts with art when we took Charcoal & Crayons to the streets.

We showed Leo around our neighbourhood...


...and made some Honey Butter Munch.


Then we peered behind the easel with Leo before we said goodbye.


A lovely photo reminded us of how nice it is to be in Daddy's arms...


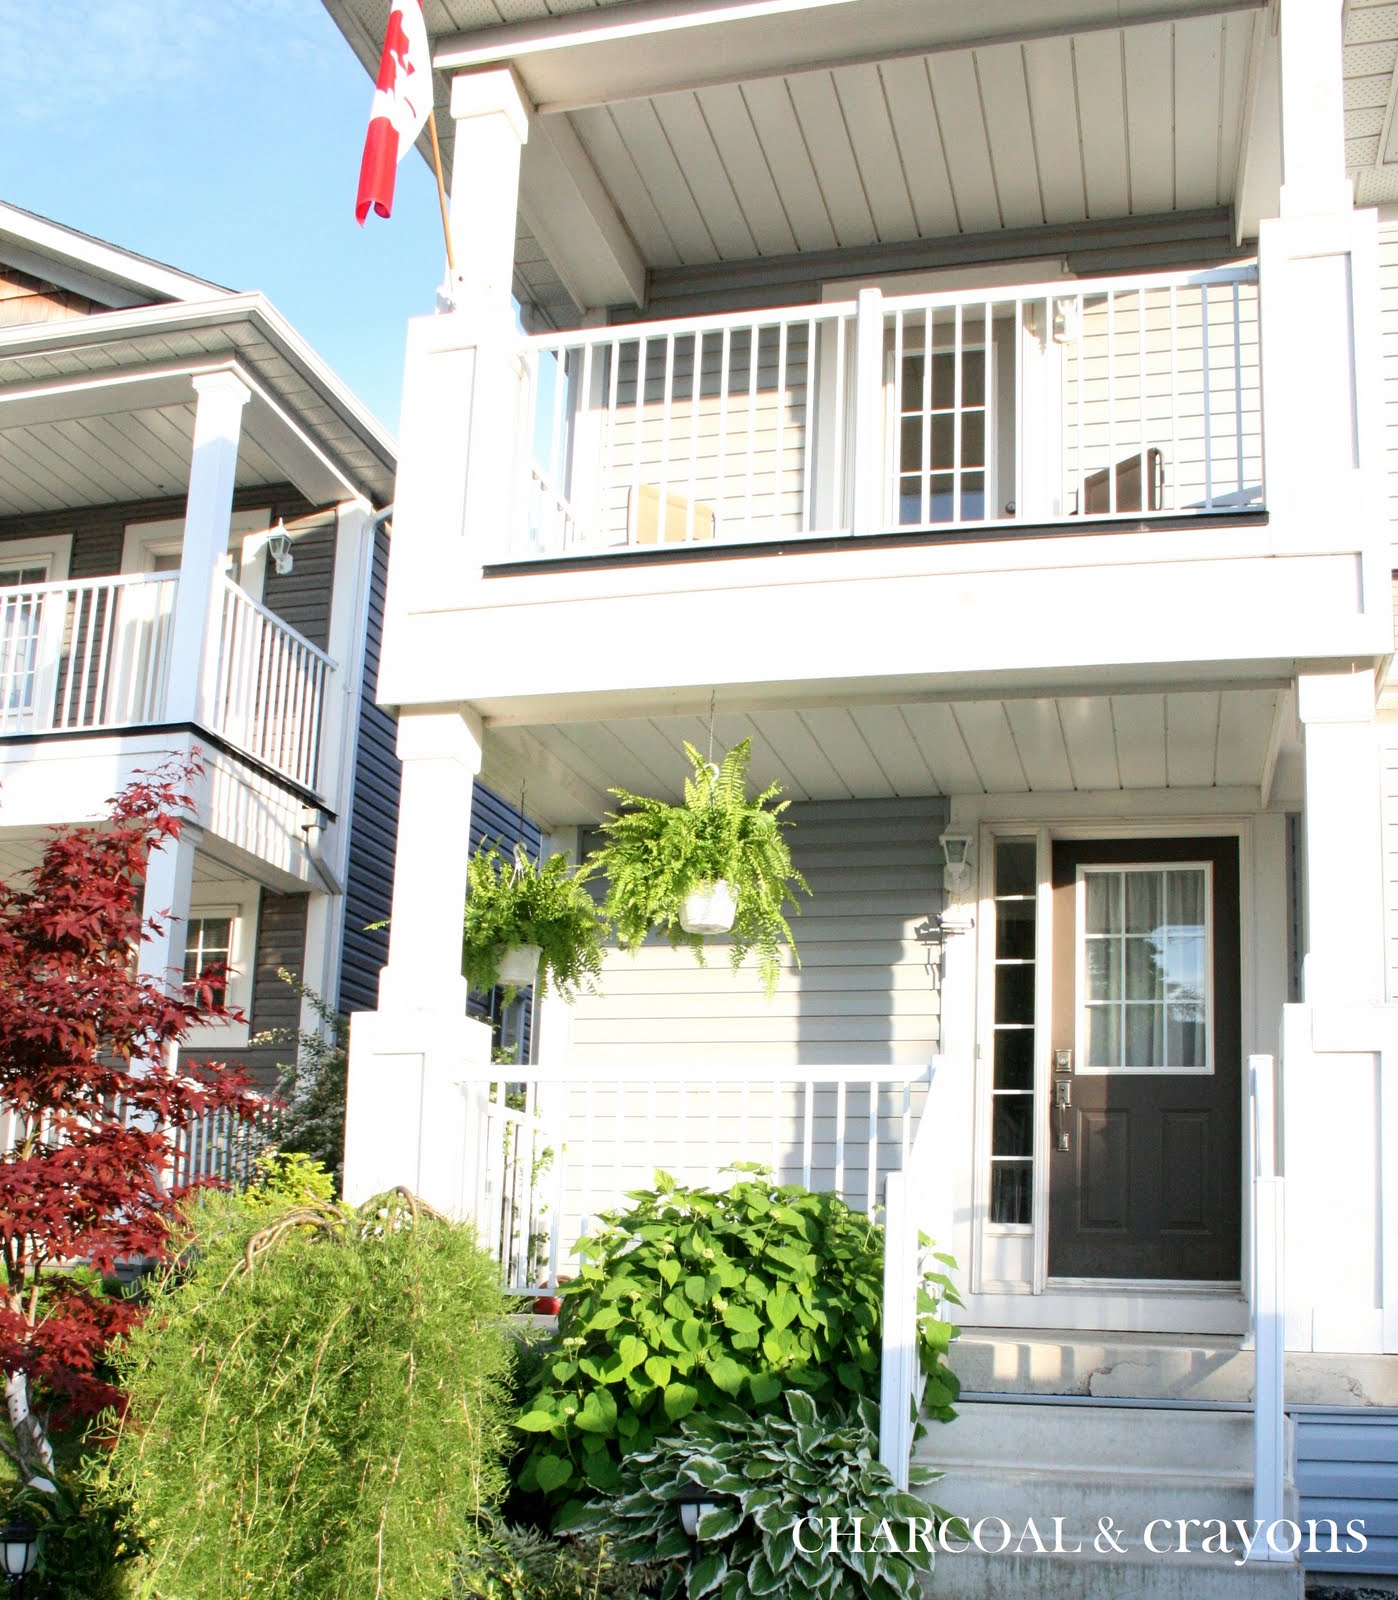
...and we took a peek at my favourite front porch ferns.  A big thank you goes out to everyone who helped me identify them as Boston Ferns!


Super Simple Seashell Stars added some summertime flair to our home decor...


...and we found colour inspiration from nature.


We had a good day with Oliver's glasses...


...and enjoyed The Ultimate Roast Chicken recipe.


What a great month and I feel so lucky that we were able to share it with you!


Thank you.


...

Wednesday, June 29, 2011

The Ultimate Roast Chicken

Not only are whole raw chickens an economical meal choice, they are a delicious dinnertime option.  Leftovers can be incorporated into many things such as sandwiches, wraps, soups, stews, salads, casseroles... and the list goes on.  The bones and carcass can be used to make a great homemade chicken stock too.  Around here, they frequently go on sale for half off, so that's when we stock up our freezer!


I have stumbled upon an incredible recipe for cooking these tasty birds.  Even though it takes 5 hours in the oven, it is so worth it!  The end result is moist scrumptious chicken every single time.
Here's the original recipe.  And here's how I do it...


The Ultimate Roast Chicken
(This recipe is for 2 whole chickens, but can easily be cut in half for 1.
I like to make an extra big batch of the rub and keep on hand for quick and easy prep.)


4 teaspoons salt
2 teaspoons paprika
1 teaspoon onion powder
1 teaspoon dried thyme
1 teaspoon white pepper
1/2 teaspoon cayenne pepper
1/2 teaspoon black pepper
1/2 teaspoon garlic powder
2 onions, quartered
2 (4 pound each) whole chickens

  1. Preheat oven to 250 degrees Fahrenheit
  2. In a small bowl, mix together salt, paprika, onion powder, thyme, white pepper, black pepper, cayenne pepper, and garlic powder.
  3. Remove and discard giblets from chicken. Rinse chicken cavity, and pat dry with paper towel.
  4. Rub each chicken inside and out with spice mixture.
  5. Place 1 onion into the cavity of each chicken.
  6. Place chickens in a roasting pan (I use a 9x13 glass baking dish) and bake uncovered for 5 hrs, to a minimum internal temperature of 180.
  7. Spoon juices from bottom of pan over the chickens.
  8. Cover with tin foil and let chickens stand for at least 10 min before carving.

The pan drippings make a very delicious gravy, which should always be served in the fanciest gravy boat...


...one that even measures how much is left!


Thanks for dropping in.


...

Tuesday, June 28, 2011

Oliver's Glasses

Several months ago, our little Ollie was prescribed glasses.


Finding a pair that would be small enough to fit him was a bit of a challenge. 


Getting him to actually wear them has been even more difficult.


Tired of the constant struggle, I put them away for awhile.


The other day, Oliver picked up the glasses case and I took that opportunity to see if he would wear them.


I was quite pleasantly surprised when they survived all the way through lunch.


Even after some playtime, they were still on.


What a good glasses day we had!


Now, today was another story...
I guess, just like most goals in life, we'll have to take it one day at a time.


Thanks for stopping by.


Saturday, June 25, 2011

The Nest

The other day, I made a discovery.

Since this is the first Summer in our new home, I was wandering around our front garden, looking at the wonderful landscaping and plant choices that the previous owners had made.  I was trying to decide what needs a good pruning, when I focused in on the little pine tree.

I took a closer look and found a beautiful nest.


On even closer inspection, I gazed upon two little blue eggs.


They were the most incredible shade of blue that I have ever seen! 


So I was inspired to make a trip to our local paint store to see if I could find a colour just as lovely.  Well, I came back with something even better...


...ALL of the colours!


I signed out one of their fan decks, so now I just have to decide on one colour... or maybe two... or three...


Thanks for stopping in.
...

Wednesday, June 22, 2011

Goodbye Leo

It's hard to believe that he's gone...

It all started when A Package Arrived.


When we opened it up, we found Friendship in a Box.


We had fun filling our Hearts Full of Art...


...and discovered a little bit more about good Oh Canada!


A sweet tooth was soothed by Honey Butter Munch...


...and we took a look Behind the Easel with Leo too.


Then, after all of the fun was had and the memories made, it was time for us to say our goodbyes and time for him to continue on with his journey.


Good bye, Leo.  We miss you already.

Thanks for stopping by.


Want to see where Leo began his journey?  Check out McCormick Madness

Leo's next stop is with Mama Shannon & The Wright Trips

Interested in joining in on the fun?  Find more info HERE


Tuesday, June 21, 2011

Super Simple Seashell Stars

Not too long ago, I received a big bag of shells from a friend's parents.  A handful of them were sitting on my table when inspiration hit!  They were lying in the shape of a star.


Add a little hot glue... and you get Super Simple Seashell Stars.


Here's the how to...

Select and Set out.
Choose the shells you wish to use and lay them out in a star pattern.  Some will work out better with 5 points, some with 6, depending on the size and shape of your shells.


Stick it to 'em.
Add hot glue where the shells will connect to each other and place them together.


Secure and Stable.
Extra hot glue added to the back adds to the stability of the star.  If you'd like to hang your creation, add a loop of ribbon or twine too.


Show off.
Display your Seashell Stars on a table, in a bowl, under a cloche, or wherever you like.


They can even be stacked...


hmm... looks like the beginnings of a Christmas tree... I guess we'll save that one for a snowy day!


For now, these Super Simple Seashell Stars are celebrating Summer!


Now a question for you...
Do you like them au natural or should I spray paint them white?


Thanks for dropping by.


...

Monday, June 20, 2011

Front Porch Ferns

I love them.  I really, really, really love them (yep, that's 3 reallys).


They're green, lovely, and welcoming... in that southern porch kind of way.


I'm not sure what type of ferns they are.  We picked them up at a charming downtown corner store, so they didn't come with that kind of info.


Do you know what variety of fern they are?  Please leave me a comment or email me at andrea.brand.art@gmail.com if you do!


Several times throughout the day, I have to peek out the front door and take a look at them.


They make me smile whenever I see them.


I'd like to get more of these ferns for our balcony above the front porch. 


Then I'll be sneaking peeks out that door too!


Do you feel the same way about any of the plants in your garden?

Thanks for stopping by.


I've shared this with...


...